
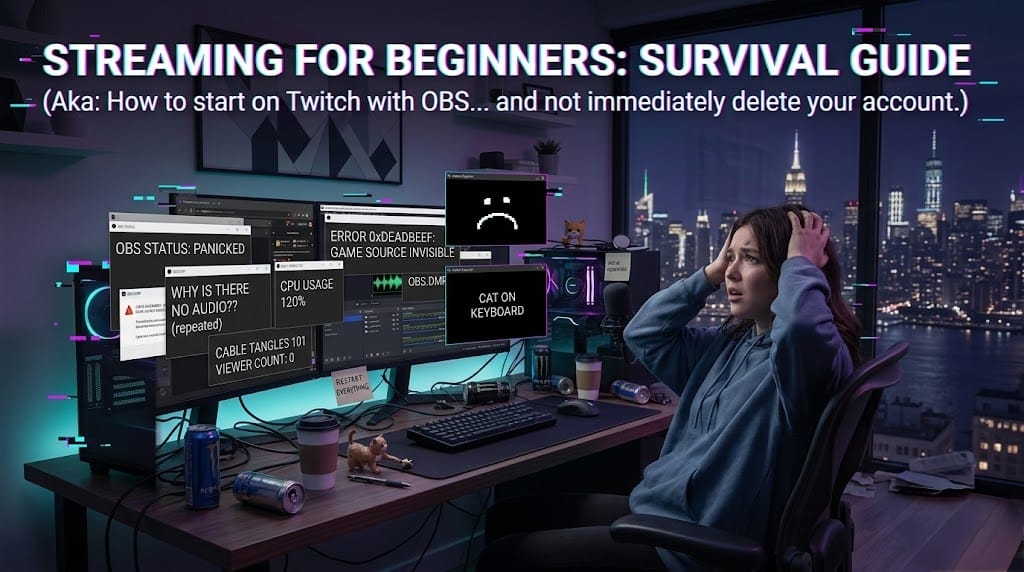
Master OBS Studio and launch your Twitch stream with our 7-step beginner guide. Learn scene layouts, audio optimization, hardware performance settings, and VOD archiving on the GlitchOver Blog.
Introduction
Starting your Twitch streaming journey doesn't require thousands of dollars in high-end hardware or complex engineering skills. By mastering OBS Studio (Open Broadcaster Software) and configuring your settings correctly from day one, you can deliver crisp video, crystal-clear audio, and a polished presentation to your viewers.
This step-by-step walkthrough covers everything you need to know to configure your broadcast, optimize performance, and launch your Twitch stream like a professional.
Step 1: Getting Started & Account Integration
The first step is setting up your core software and establishing a secure connection to your channel:
Download OBS Studio: Head to obsproject.com (or obspro.com) and download the installer compatible with your operating system (Windows, macOS, or Linux).
Connect Your Twitch Account: Open OBS Studio, navigate to Settings > Stream, and select Twitch as your service. Click Connect Account (Recommended) and log in with your Twitch credentials.
Enable Integrated Docks: Connecting directly rather than pasting a stream key unlocks Twitch’s native dock overlays inside OBS Studio—giving you real-time access to your Stream Information, Twitch Chat, and Activity Feed without needing external browser tabs open.
Step 2: Building Professional Broadcast Scenes
To keep your broadcast organized and visually engaging, set up three core scenes in the Scenes and Sources panels:
Starting Soon Scene: A clean, static screen displayed 5 to 10 minutes before going live. This gives your audience time to receive notifications, join chat, and gather before your main content begins.
Just Chatting Scene: A full-screen webcam layout designed for creator-to-viewer interaction, Q&A sessions, and community engagement. Include a Video Capture Device source for your camera and an optional Twitch chat overlay.
Gameplay Scene: Your primary gaming setup using two properly layered sources:
Game Capture (Bottom Layer): Captures full-screen game applications smoothly.
Webcam Overlay (Top Layer): Scaled down and positioned in a corner (e.g., bottom-left or top-right) so it doesn't obstruct crucial game HUDs or mini-maps.
Step 3: Optimizing Audio Without Hardware Mixers
Audio quality is critical—viewers will forgive average video quality, but poor audio will drive them away instantly. You don't need expensive physical mixers to get great sound:
Add Audio Input Capture: In the Sources panel, add an Audio Input Capture source for your dedicated microphone. Apply filters such as Noise Suppression or Limiter to eliminate background noise.
Add Application Audio Capture: Instead of capturing all desktop sound (which can accidentally stream copyright music or private notification sounds), use Application Audio Capture to isolate specific game or Discord audio streams.
Maintain Audio Across Scenes via "Paste (Reference)": When copying your microphone source across scenes (like Just Chatting and Gameplay), right-click and select Paste (Reference). This ensures your mic levels, filters, and audio sources remain identical across all scene transitions without dropping out.
Pro Audio Tip: Aim for your microphone levels to hit the Yellow Zone (-15 dB to -6 dB) on the OBS Audio Mixer, while keeping game audio in the lower Green Zone (-24 dB to -18 dB).
Step 4: Configuring Hardware Performance Settings
Stream stuttering and dropped frames occur when your system CPU gets overloaded. Fix this by navigating to Settings > Output and switching the Output Mode from Simple to Advanced:
Hardware Encoding: Select your GPU’s hardware encoder—NVIDIA NVENC or AMD HW H.264. Offloading rendering tasks from your CPU to dedicated GPU silicon eliminates in-game lag.
Rate Control: Select CBR (Constant Bitrate) for stream stability.
Keyframe Interval: Set strictly to 2 seconds.
Target Resolution & FPS | Recommended Bitrate | Encoder Preset | Audio Bitrate |
|---|---|---|---|
1080p @ 60 FPS (High-speed Broadband) | 6,000 Kbps | P5: Slow (Good Quality) | 160 Kbps |
720p @ 60 FPS (Standard Bandwidth) | 4,500 Kbps | P4: Medium / Balanced | 160 Kbps |
Step 5: Going Live & Real-Time Stream Management
Once your visual elements and settings are locked in, hit Start Streaming in OBS Studio.
During your broadcast, open the Twitch Stream Manager on a secondary screen, tablet, or phone as your primary mission control hub. Use it to monitor stream health (bitrate indicators, dropped frame counts) while managing chat, acknowledging new followers, and triggering live alerts.
Step 6: Critical Safety Setting – Enable Past Broadcasts
By default, Twitch does not automatically archive your live streams. If you skip this setting, your broadcast disappears forever as soon as you stop streaming.
Required Action Before Going Live: Log into Twitch on your browser, navigate to Creator Dashboard > Settings > Stream, scroll to VOD Settings, and toggle Store past broadcasts to ON.
Enabling VOD storage keeps your recorded streams saved for 7 to 14 days (up to 60 days for Prime/Partners), allowing you to create highlight clips for TikTok, YouTube Shorts, and Instagram Reels.
Step 7: Connecting to Glitchover
Building a successful channel goes beyond software configuration—it’s about growing your brand, engaging your audience, and building a sustainable creator workflow. Whether you're looking to run multi-channel promotional campaigns, analyze engagement metrics, manage creator outreach, or showcase your live content across gaming communities, Glitchover provides the tools and ecosystem you need to scale. Ready to take your streaming journey to the next level? Use Glitchover today to streamline your creator workflow, connect with gaming communities, and build your digital platform!